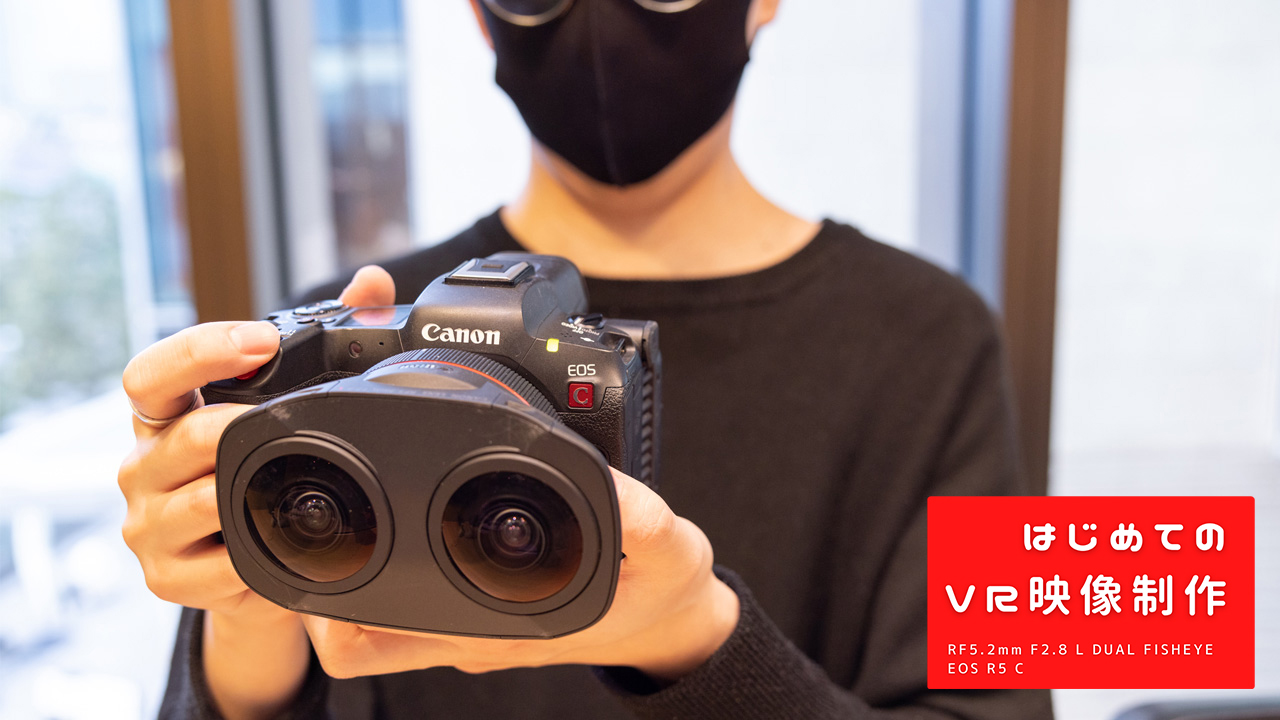
- VR Production Part 3: Editing Materials
- I tried editing VR material!
- Don’t forget VR goggles to check!
- Editing points to keep in mind
- And the long journey is over [Appreciation]
VR Production Part 3: Editing Materials
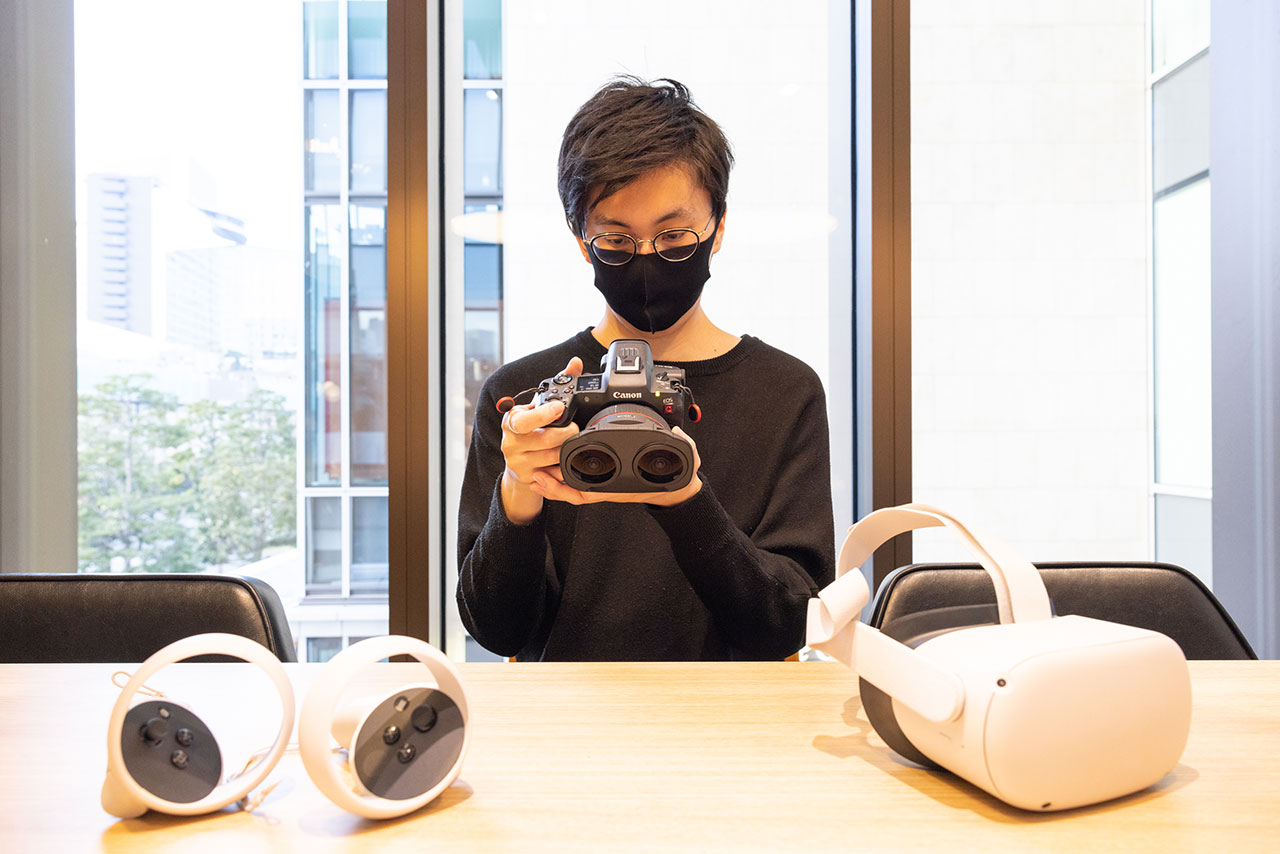
First, convert the movie you shot with EOS VR Utility. This is our first VR production. I have no experience with the conventional 3D 180° VR shooting procedure of shooting with two cameras and manually adjusting the position, exposure, parallax correction, etc. in the two movies, so it is difficult to compare with it. .
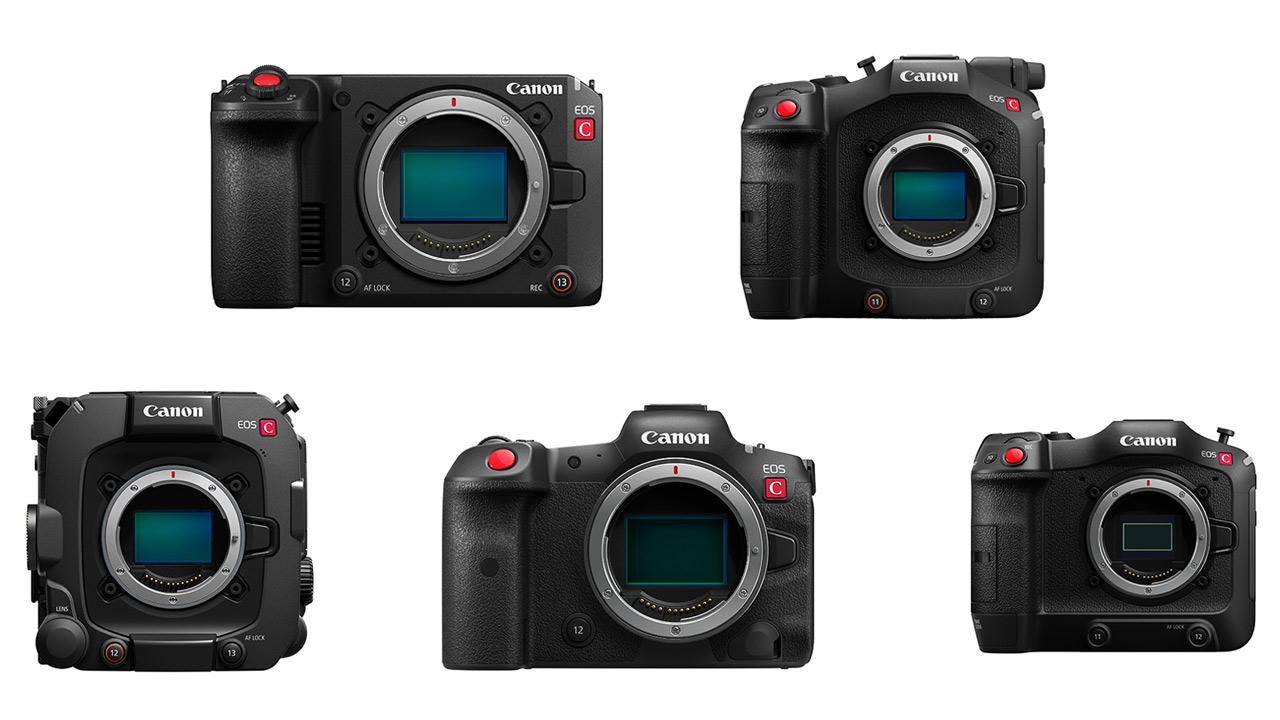
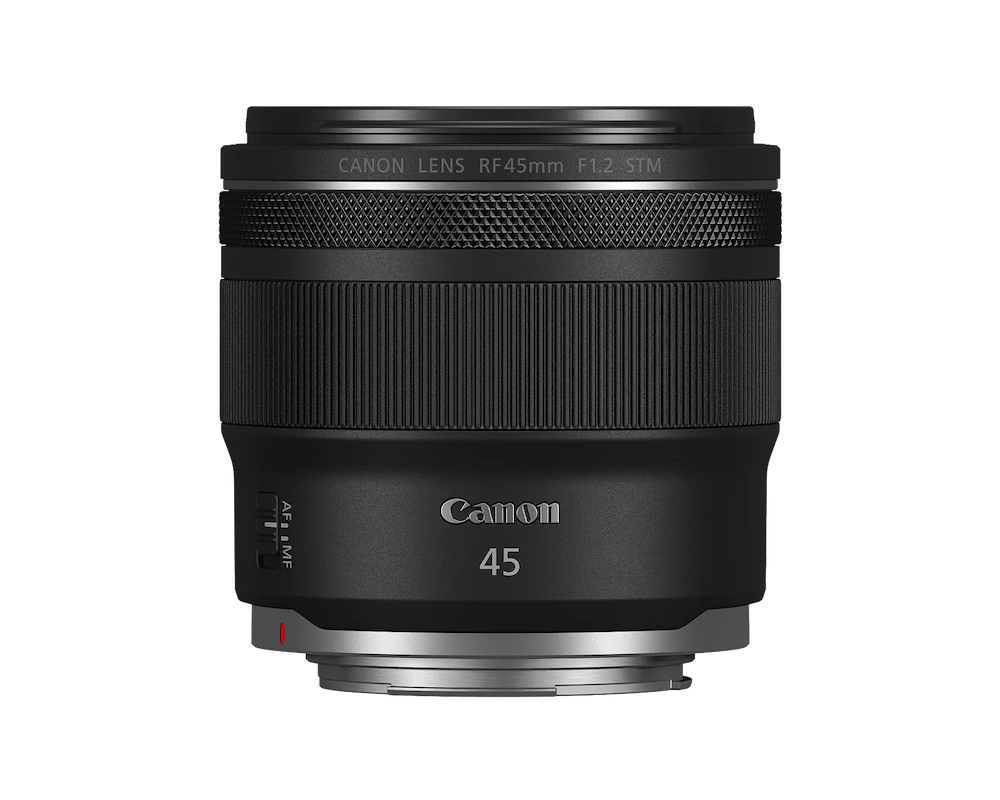
Converting a movie shot with the R5 C and RF5.2mm F2.8 L DUAL FISHEYE was very easy, just loading the movie into the EOS VR Utility and exporting it. It seems that the difficulty of VR video production that I have heard from various creators so far is different. It can be said that this ease of use has eliminated the major hurdles that existed in VR production.
I tried editing VR material!
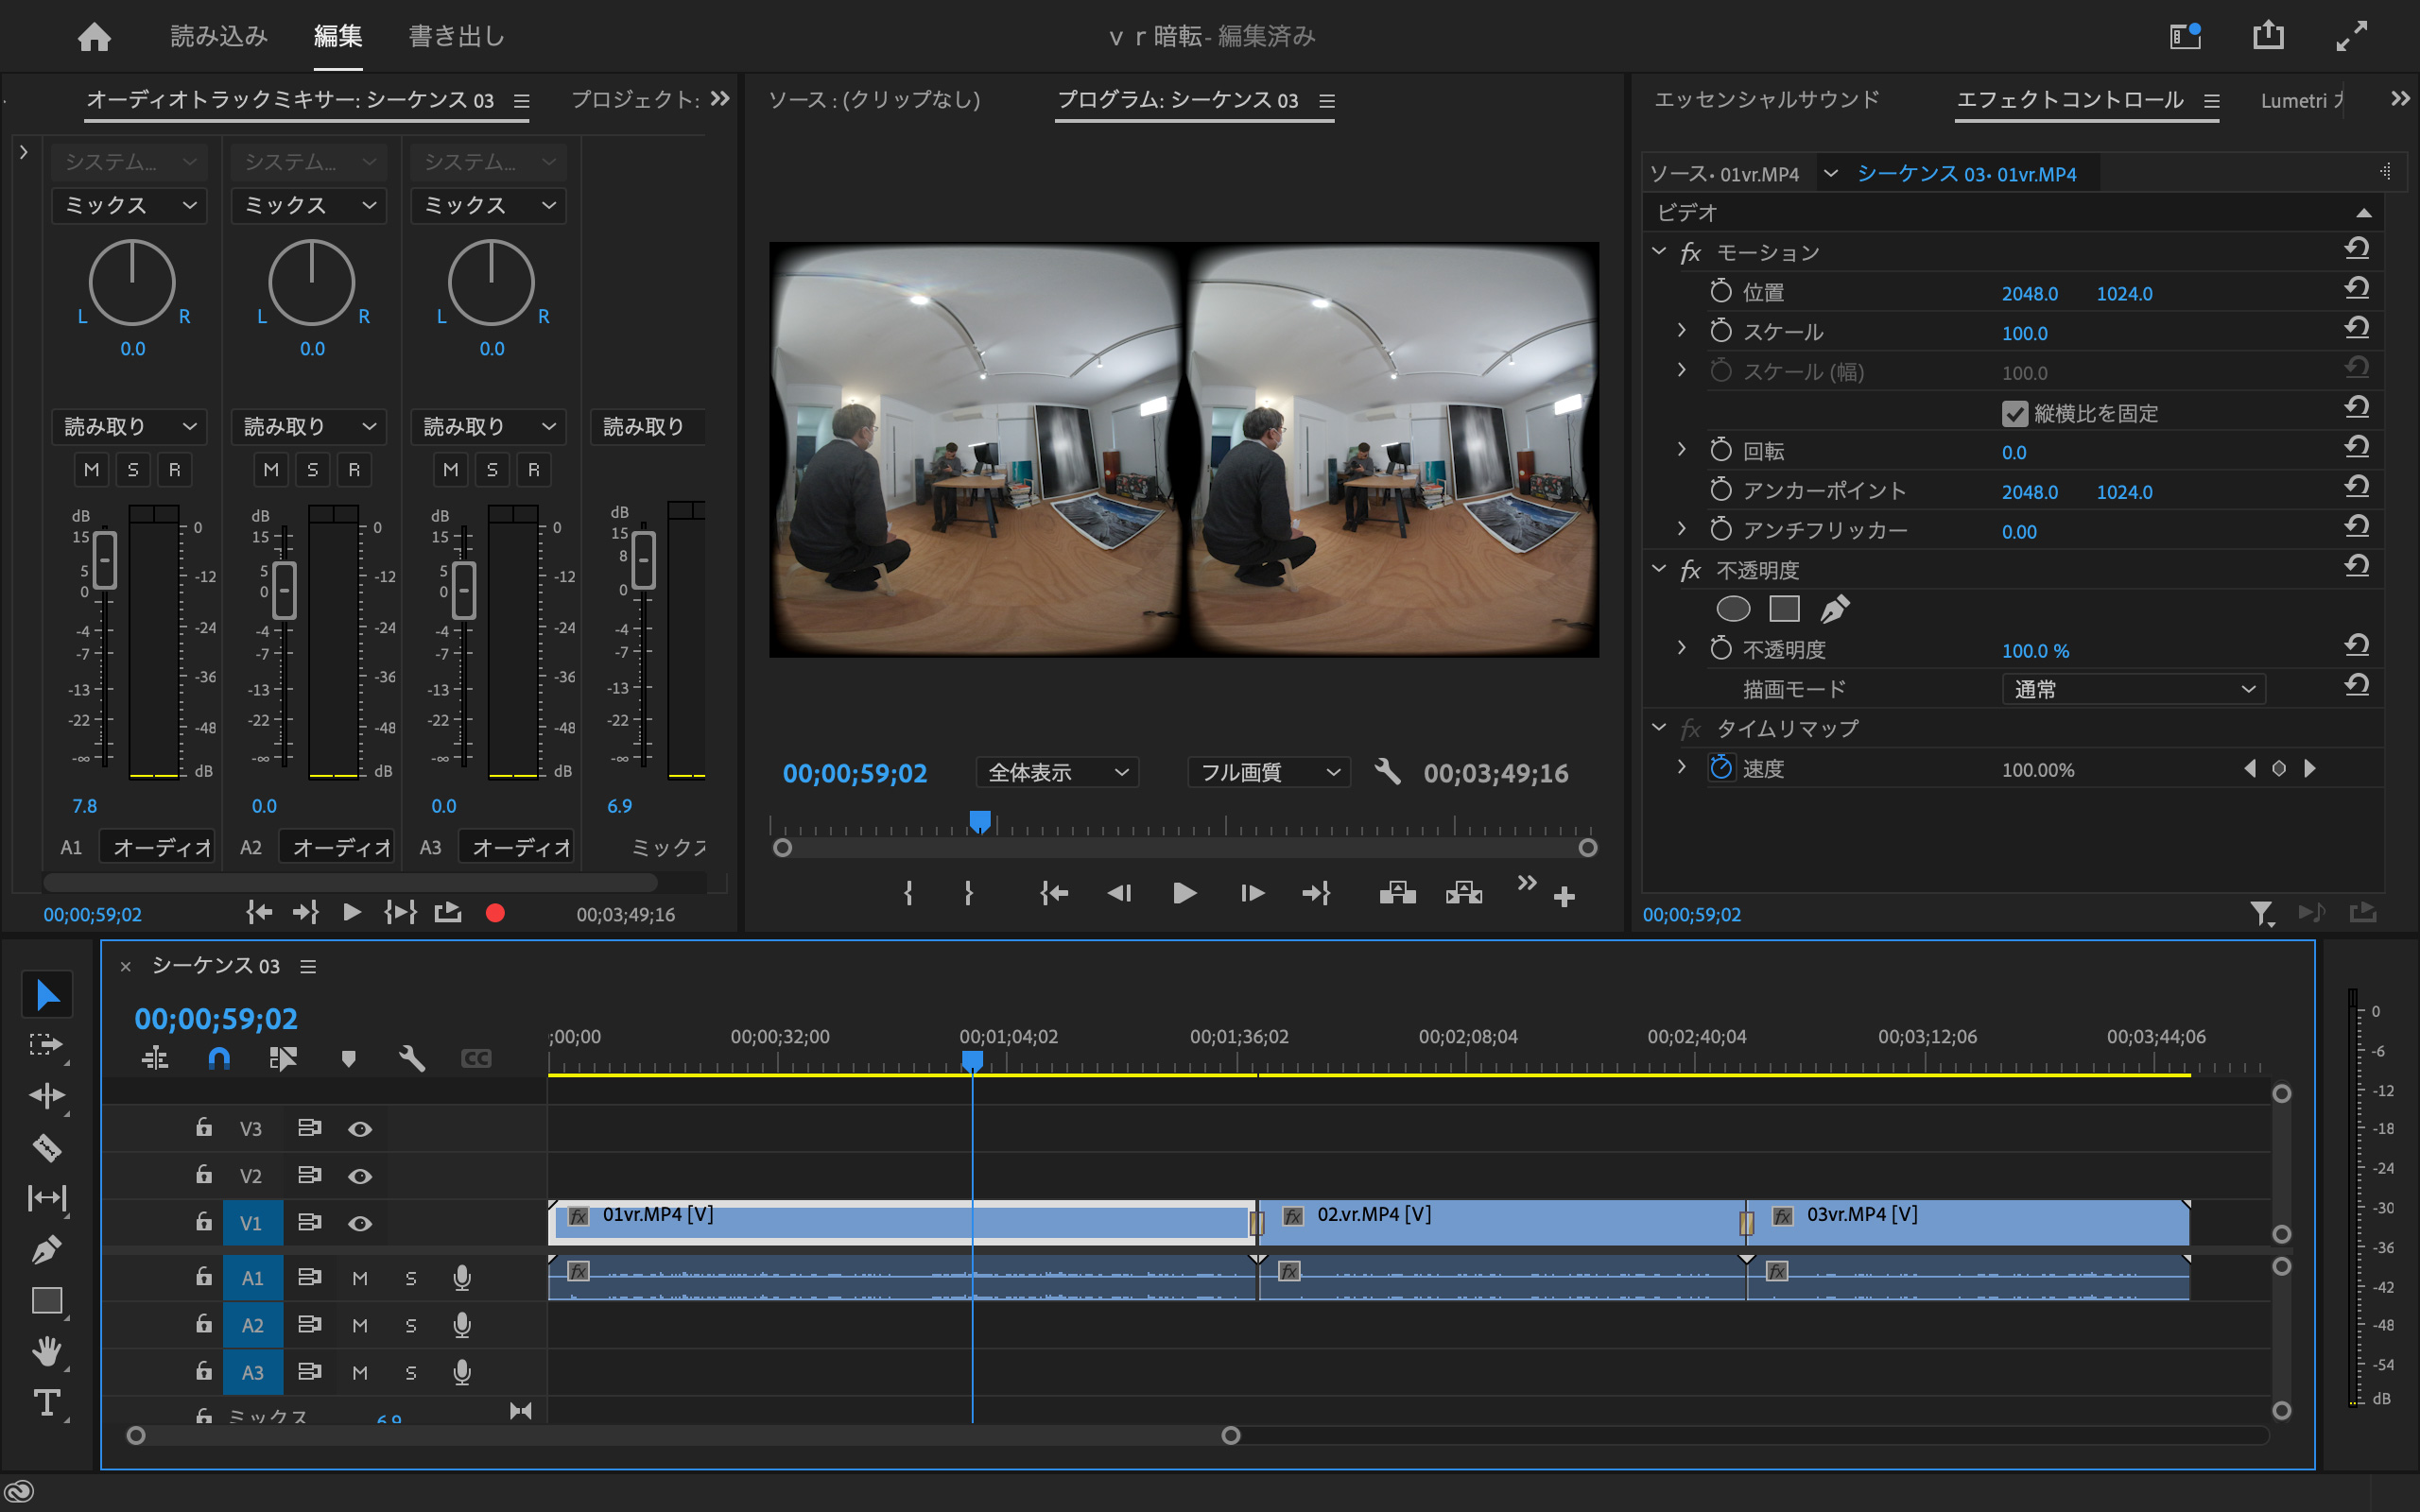
Load the converted material into Premiere Pro. Since the basic operations are the same as normal movie editing, there is no problem if you are used to editing with Premiere Pro. By the way, if you have the EOS VR Plugin for Adobe Premiere Pro installed, you can edit the pre-conversion movie on the timeline and it will automatically be converted. It may be easier to rely on plug-ins when connecting long sequences.
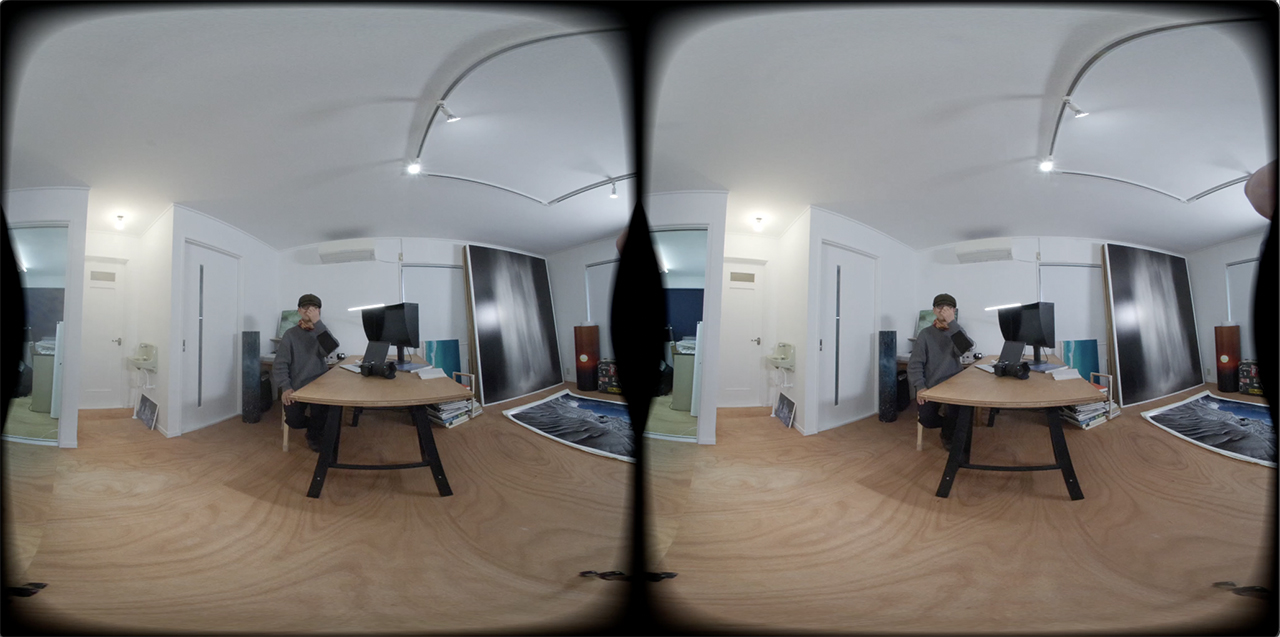
It’s surprisingly easy to convert, but the converted movie doesn’t look like a fisheye, but the two images are left and right side by side. It’s still not the same as the image you can finally see with the goggles, so it’s difficult to check the details. Editing will be done while the “preview is not a preview” state.
Don’t forget VR goggles to check!
If you want to check the movie accurately, it would be realistic to write out that part, check it with VR goggles, and make corrections in Premiere Pro based on that, repeating trial and error.
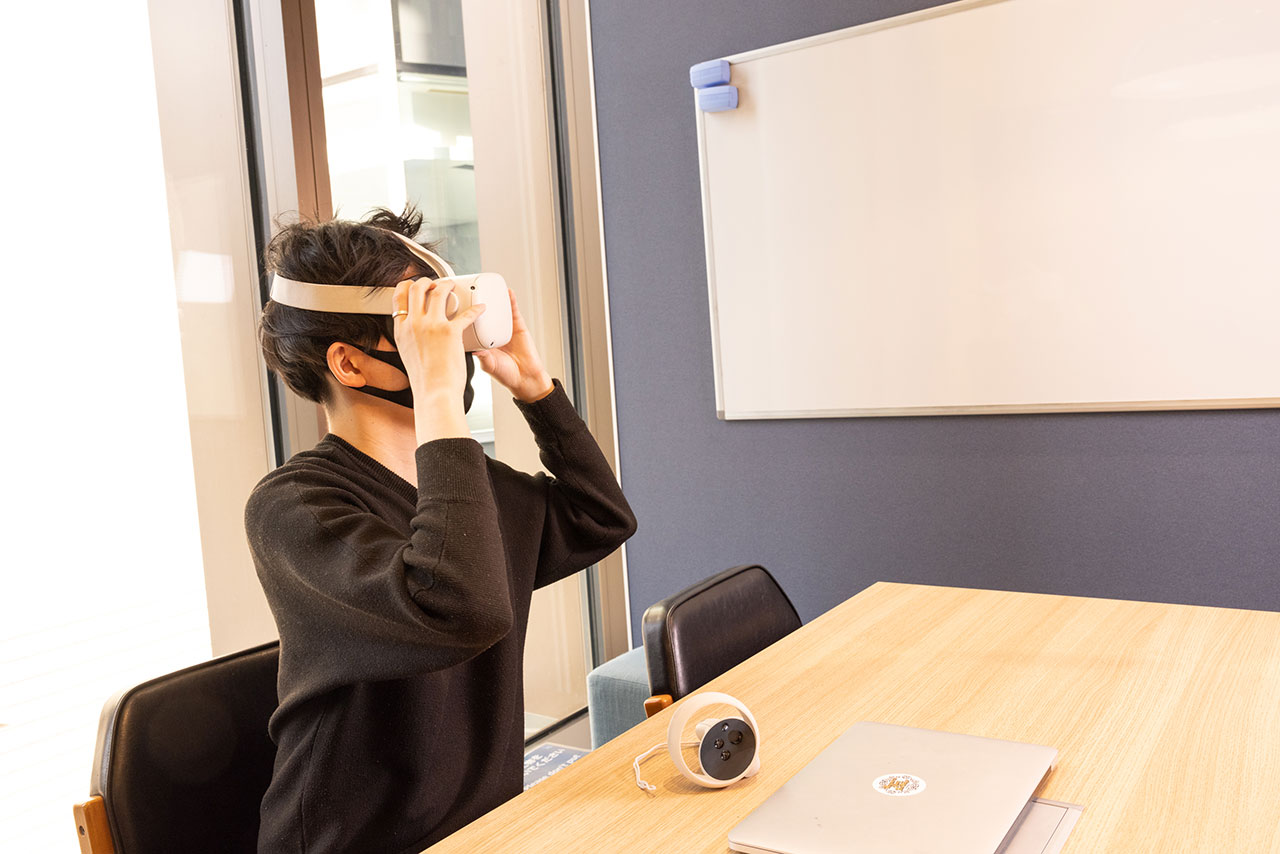
Editing must always take into account the viewer’s point of view. As in normal editing, cuts of various angles are switched one after another, and images that connect different angles with dissolves can cause so-called VR sickness for viewers.
When changing from a certain point of view cut to another point of view cut, it would be good to reset the field of view, such as turning black once. In that sense, the editing work is limited to deleting unnecessary parts at the beginning and end of the filmed video, and the key is how much content you want to show is included during filming and whether it is filmed properly. . Unlike normal video production, I felt that the balance was about 80% shooting and 20% editing.
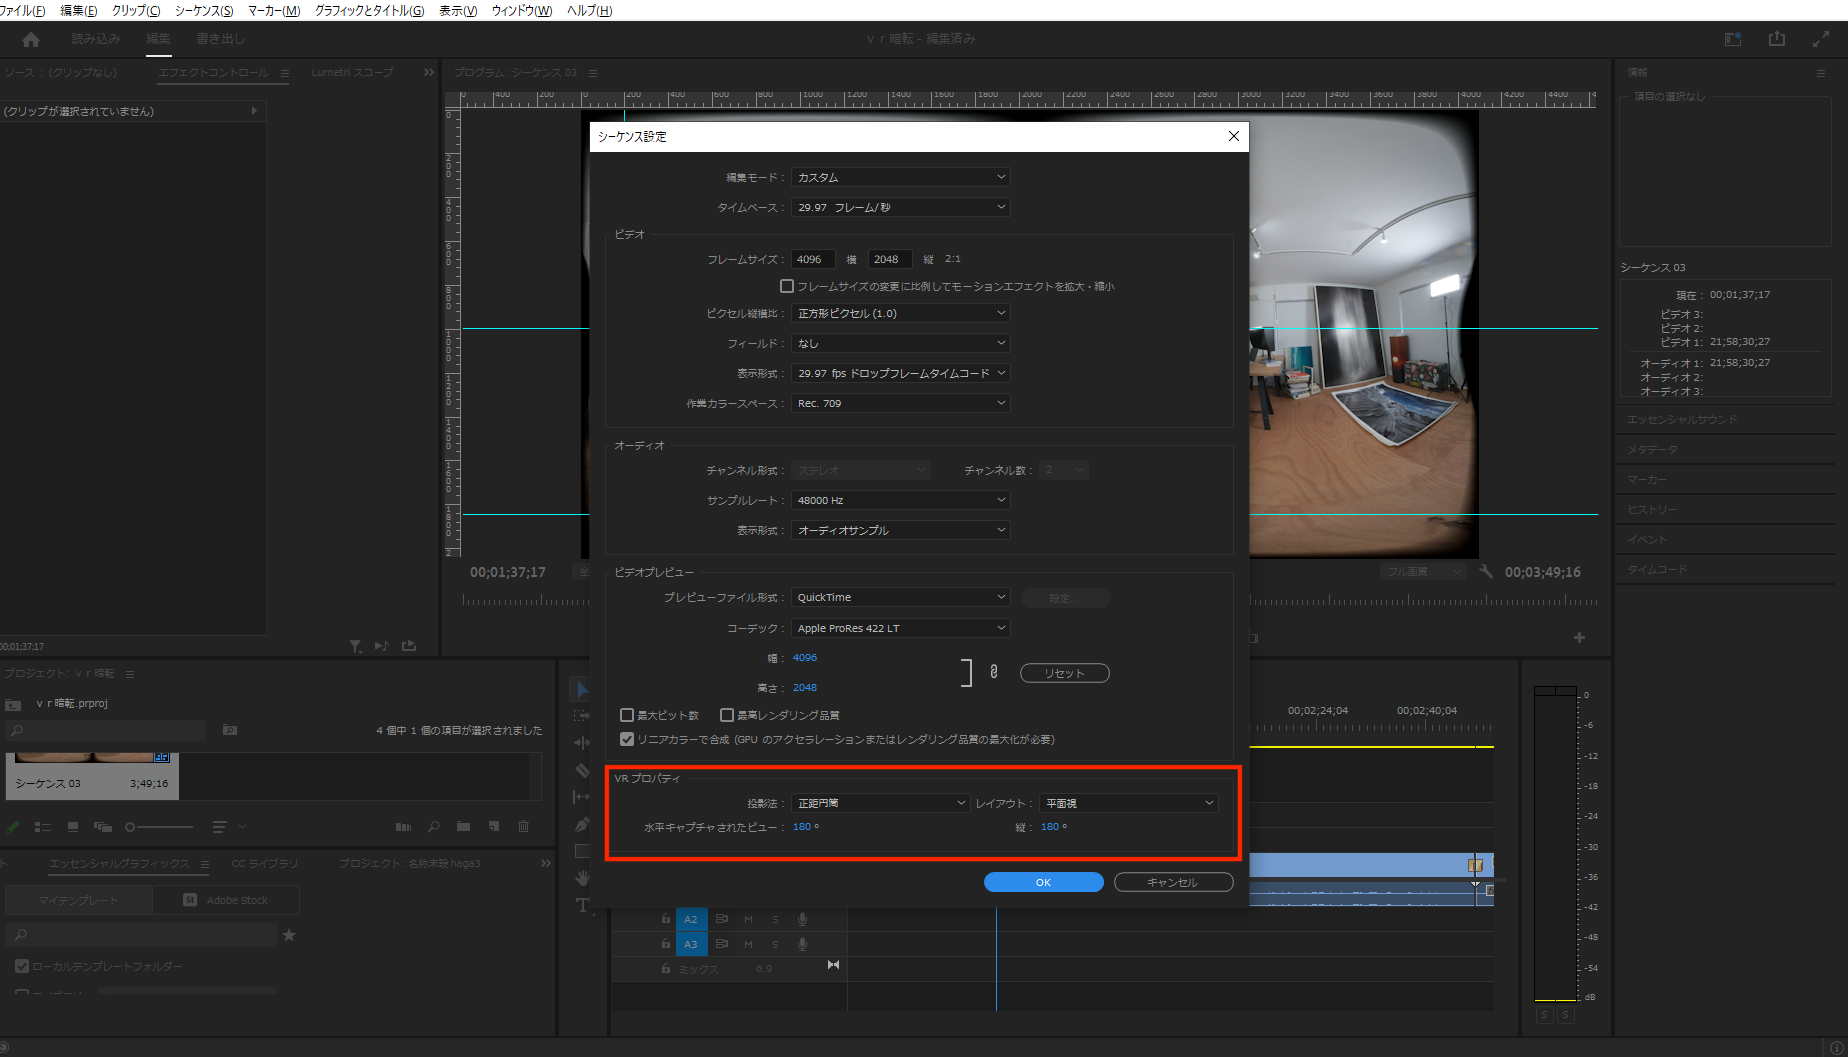
The final export is no different from exporting a movie in a normal work. YouTube and VR goggles will automatically recognize the exported movie. The only thing I would like to note is that you must select 180 ° VR in the export settings. If not selected, it will be complemented by 360° VR.
Editing points to keep in mind
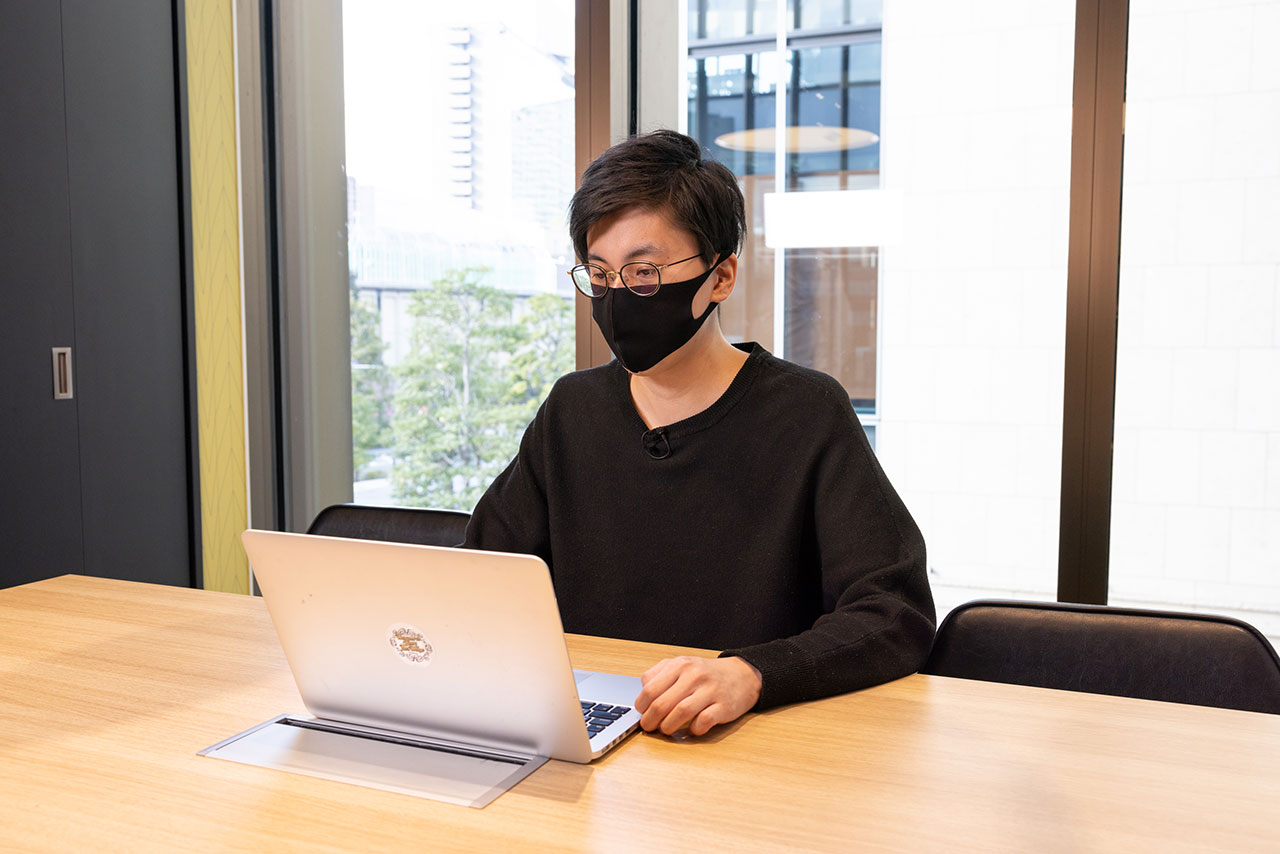
One thing that bothered me while editing in VR was the audio. Because the image has a 180° field of view, for example, if the viewer is looking straight ahead and there is a sound coming from the right, it is technically impossible to hear the sound coming from the front only when the viewer turns to the right. Not impossible but not common. In the current situation, there is no doubt that there is no doubt that the project and image creation will not cause discomfort even if the same sound is played wherever the viewer is facing.
And the long journey is over [Appreciation]
The PRONEWS editorial staff, who are new to VR, experienced 180° VR shooting and editing, but using the R5 C, RF5.2mm F2.8 L DUAL FISHEYE, and EOS VR Utility makes 180° VR production very easy. I found out that I can go to
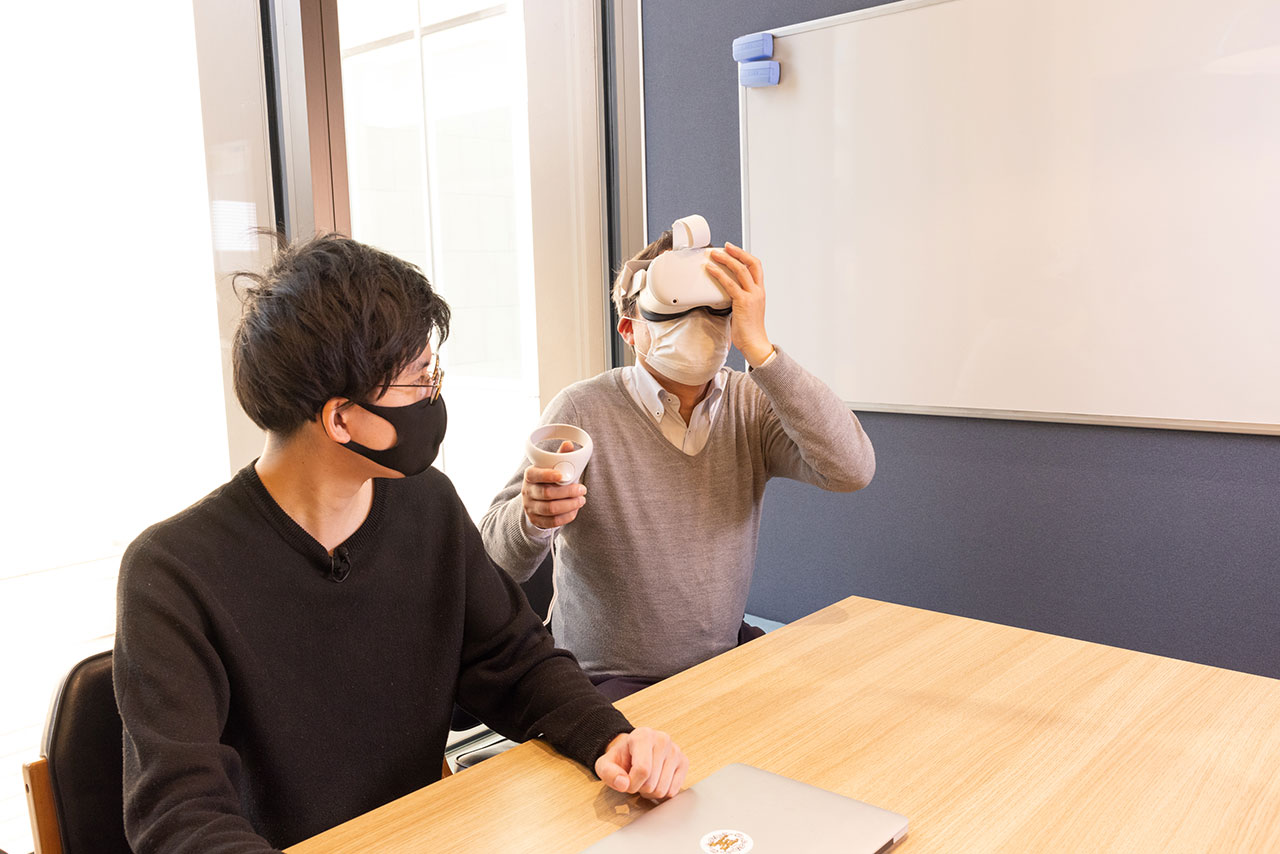
Of course, it’s not exactly the same as normal shooting and editing, but there are almost no technical hurdles when converting files. As long as you take note of the special points to note when shooting and editing 3D 180° VR, you will be able to enjoy it immediately. The PRONEWS editorial department also wants to challenge VR production in the future.
Composition: Koike Takumi – Editorial Department


