- Enter the shooting! and before that
- The concept of “cutting out the place”
- Visiting Photographer/Filmmaker Goto Aki
- On-site camera installation
- Checking focus adjustment
- Battery
- Shooting angle
- After shooting
Enter the shooting! and before that
For the second VR production, based on the previous lecture, we will finally challenge 3D 180 ° VR shooting.
First of all, after the meeting with the PRONEWS editorial staff the other day, we did some VR shooting tests. One was a model shoot. I asked the model to stand and take a picture, but I couldn’t feel the charm of VR because there was only one person in the middle of the ultra-wide-angle image. Rather than that, it’s more interesting to see unrelated people reflected in the surroundings by chance, and it attracts my interest.

The pattern at the live house. Interesting enough to see the movement of the band and crowdI also shot a band at a live house. I was happy to be able to turn to each player during the band’s solo part, and it was also interesting to see people cradling babies in the audience reflected on the edge of the screen. I can’t help but be interested in what happens on the screen other than the band performance.
The concept of “cutting out the place”
Based on these, I was reminded of the words of Mr. Yajima of Canon at the lecture the other day. It was a comment that said, “Cut out the place.” The appeal of 3D 180° VR is that you can experience an immersive experience as if you were there. I decided to think of a shooting content that would draw out that.
What are the scenes that we can cut out that we can not easily see?
For example, we came up with a plan to set up a VR camera at the still shooting site in the studio and watch the model, cameraman, director, etc. working as if they were a client. However, from the standpoint of PRONEWS, it was decided that the “coverage site” would be interesting.
The editorial department conducts interviews in various places, but the results are only published in articles, and the interview sites are not usually made public. I was convinced that the experience of being there would be interesting.
Visiting Photographer/Filmmaker Goto Aki
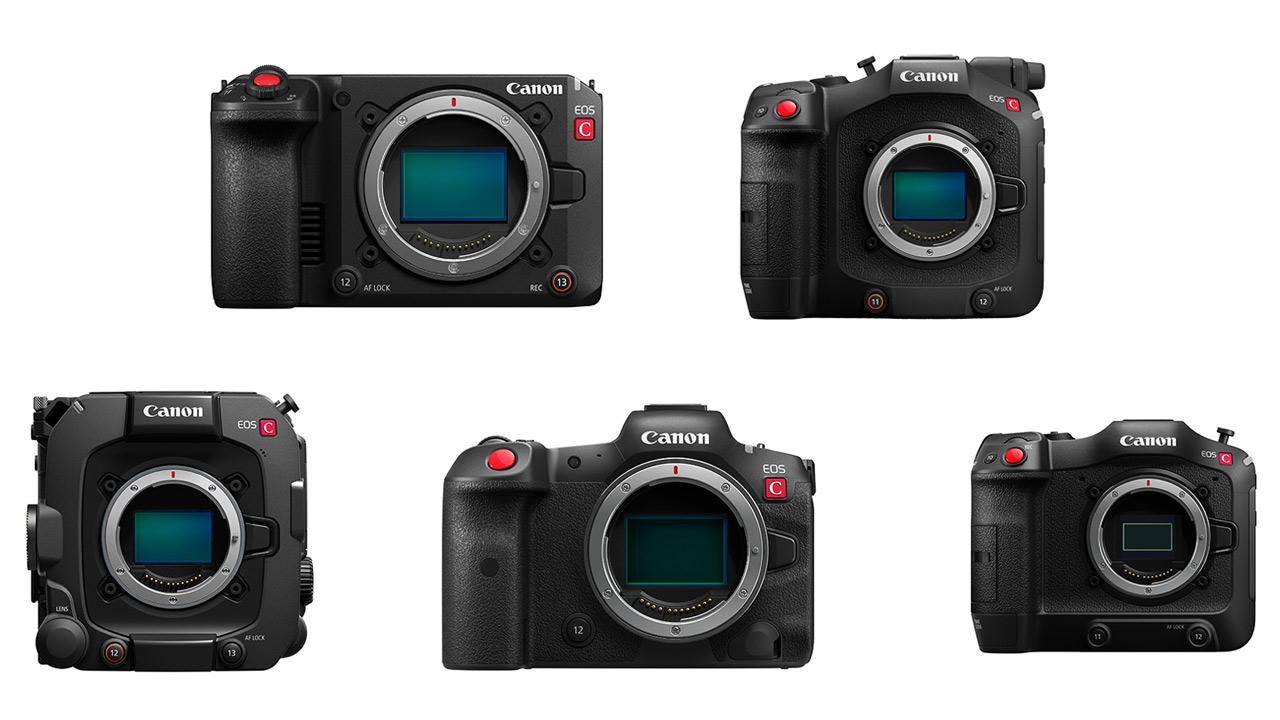
This time, we decided to shoot a 3D 180° VR shot of photographer/videographer Goto Aki in his own atelier with a combination of Canon EOS R5 C and RF5.2mm F2.8 L DUAL FISHEYE. rice field.

Below is a list of what I felt at the shooting site.
On-site camera installation
Setting up the equipment is really easy. The combination of the R5 C and RF5.2mm F2.8 L DUAL FISHEYE is very compact, and can be completed simply by placing it on a small tripod and leveling it. Needless to say, it takes time and effort to shoot VR with two cameras like before. One point to note is that the area directly below the lens is also reflected, so if the tripod is not reflected, you need to devise a way to position the camera slightly in front of the tripod. This time, we dared to proceed with a production that could be overlooked.

Checking focus adjustment
Since it is sometimes difficult to check the focus position only with the R5 C’s LCD screen, I used an external device to output the image and used the tablet as an external monitor. Since the image is an all-round fisheye that is different from normal, it is necessary to check how far the surroundings are reflected, so a larger monitor would be convenient for checking the situation.

Battery
This time, the shooting time was not long, so I was able to make it with the battery I had on hand, but the R5 C also supports USB power supply. An external battery is a good idea when shooting for long periods of time.
EOS VR Utility and formats for VR shooting
After entering the realization site, we first performed a simple test shoot. I converted the file I shot on site with the EOS VR Utility, but it didn’t work. The cause was that the recording format had been set to MXF. EOS VR Utility supports MP4 and RAW, but not MXF.
It’s embarrassing to say this, but the reason for this was that I was shooting with the recording format set to MXF for another reason. More than VR beginners, it is a point that you have to be careful when shooting. I was able to reconfirm the importance of test shooting. As much as possible, it is recommended to convert and check with EOS VR Utility at the shooting location.

Shooting angle
This time,

- An angle that reflects the interviewer

- An angle that does not show the interviewer

- Angle closer to the interviewee
I tried shooting at three angles. Also, during the interview, I dared to include movements such as moving so that the still cameraman would be reflected in the edge.
There are various ways to create a sense of distance between the camera and the subjects, so I would like to continue to consider them in the future.
After shooting

Born in 1972. He continues to update Japanese landscape photography by incorporating the perspective of natural science and snapshot photography into landscape photography. In 2020, he won the Photographic Society of Japan New Face Award for his photo exhibition and photo book “terra”. gotoaki.com
There were many differences from normal shooting, and I was confused when shooting, but the combination of EOS R5 C, RF5.2mm F2.8 L DUAL FISHEYE, and EOS VR Utility made it easy to install, shoot, and convert. I was able to fully experience it, and I wanted many people to try it as a new way of recording and enjoying images.
Also, this is a point to reflect on, but if I had VR goggles with me at the scene, I could immediately check the file converted with EOS VR Utility while watching it, so I will definitely try that part next time. I want to
Please watch the interview with Mr. GOTO AKI in the VR video at a later date. At CP+2023, Mr. GOTO AKI will give a seminar at the Canon booth on February 26, the final day.
WRITER PROFILE
Representative Director of PST Co., Ltd. Since 1994 he has been demonstrating and training in video software for Avid, Apple and Adobe.


